
From three reference images to eleven seconds of green phosphor, wet concrete, and electrical failure—and the revisions that made it work.
Eleven seconds of video. Roughly eight hours for the final renders on my MacBook Pro. And more discussion about puddles than I expected.

That was the process behind The Stack Observer’s new intro: an abandoned warehouse, a pile of exposed CRT monitors, and a camera moving toward a green version of the logo. An overhead light flickers out, leaving the screens glowing before everything fades to black.
The finished sequence is short. Getting there involved building a reusable model, designing the scene, correcting things that looked physically wrong, refining the camera, and adding sound. I worked with Codex using Astra 6 light model connected to Blender, using a conversation to direct changes inside an editable 3D project.
It began in a conversation in Codex and I supplied three reference images and asked:
“I would like the screen to be a green terminal screen and replicate the textures and surfaces the best you can. I want the model to be detailed to use in the future for creating video intros and animations…”
That last part mattered. I wanted something I could revisit, photograph from different angles, and use in future projects.
The resulting model included a curved screen, exposed tube, copper windings, circuit boards, wiring, fasteners, solder joints, and textured metal. Its major assemblies were organized separately, with controls for screen brightness and an exploded view. The references and display texture were packed into the Blender file.
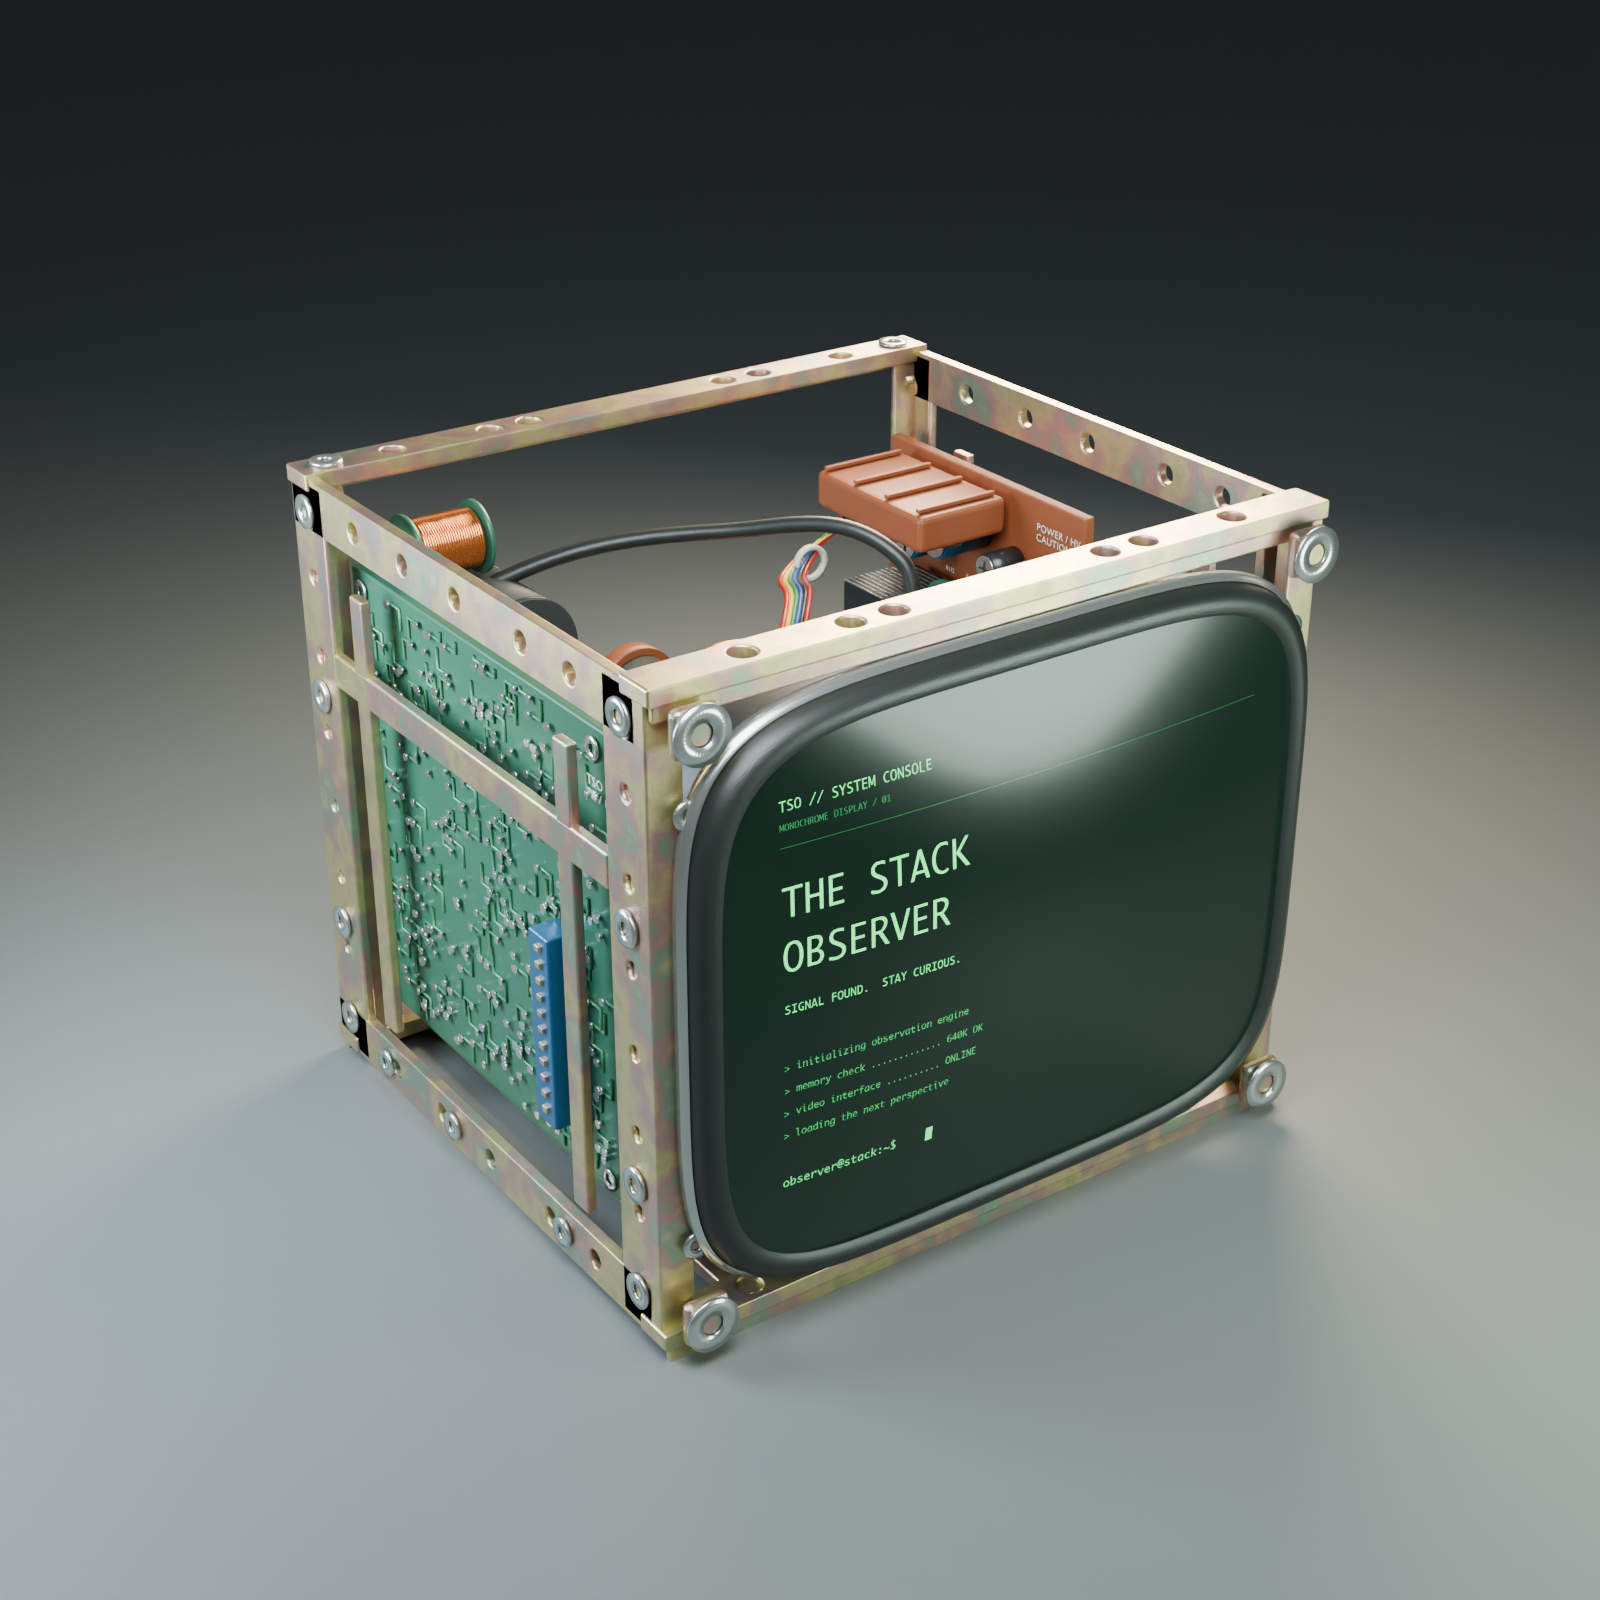
The model reached roughly 1,600 objects. That sounded impressive, but the useful test was whether the parts made sense together.
Looking at it in Blender, I noticed that the brown circuit board was too short for some of its capacitors and resistors. They extended past its lower edge. I pointed out the problem, and the board was extended beneath them without moving the components or its upper edge. Other checks caught screw shafts protruding through their heads and a connector that stopped short of its cable.
Those were small corrections, but they established the rhythm of the project: generate something, inspect it, explain what looks wrong, and revise it.
With the model ready, I described the intro. I wanted a dark, empty warehouse with concrete floors and small puddles from a leaking roof. The camera would approach a pile of CRTs and gradually stop. One monitor would power on with The Stack Observer logo rendered like a green terminal. Then the overhead spotlight would flicker and die.
Before building the scene, Codex asked about the model location, frame rate, arrangement, timing, other screens, and deliverables. I chose 30 frames per second and an editable Blender scene first. The original idea was about eight seconds; allowing for the fade, then adding an extra second of hold, eventually brought it to eleven.
The first version gave me the essential scene surprisingly quickly. It also gave me a neat stack of monitors that looked more arranged than abandoned.
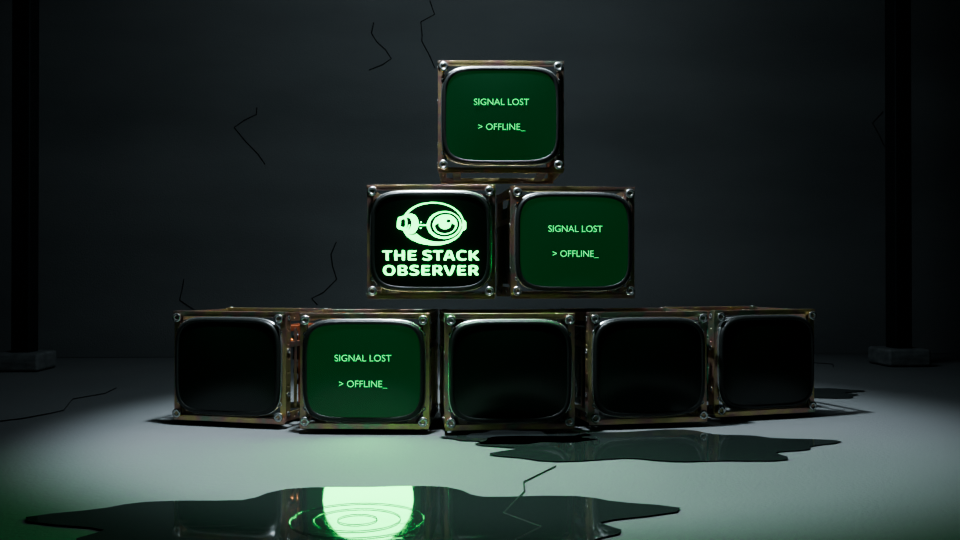
I asked for something messier, as though the monitors had been dropped into a pile. Some needed to lie on their sides or lean at different angles.
That change exposed a problem: a monitor can look as though it is floating even when simplified collision boxes say it has support. An open-frame CRT has gaps, rails, and protruding components. Its rectangular bounding box does not describe every visible contact point.
We used physics-based settling to explore arrangements, then refined the important contacts against the actual chassis geometry. The logo monitor also needed to remain readable. Letting everything tumble freely did not guarantee a useful composition.
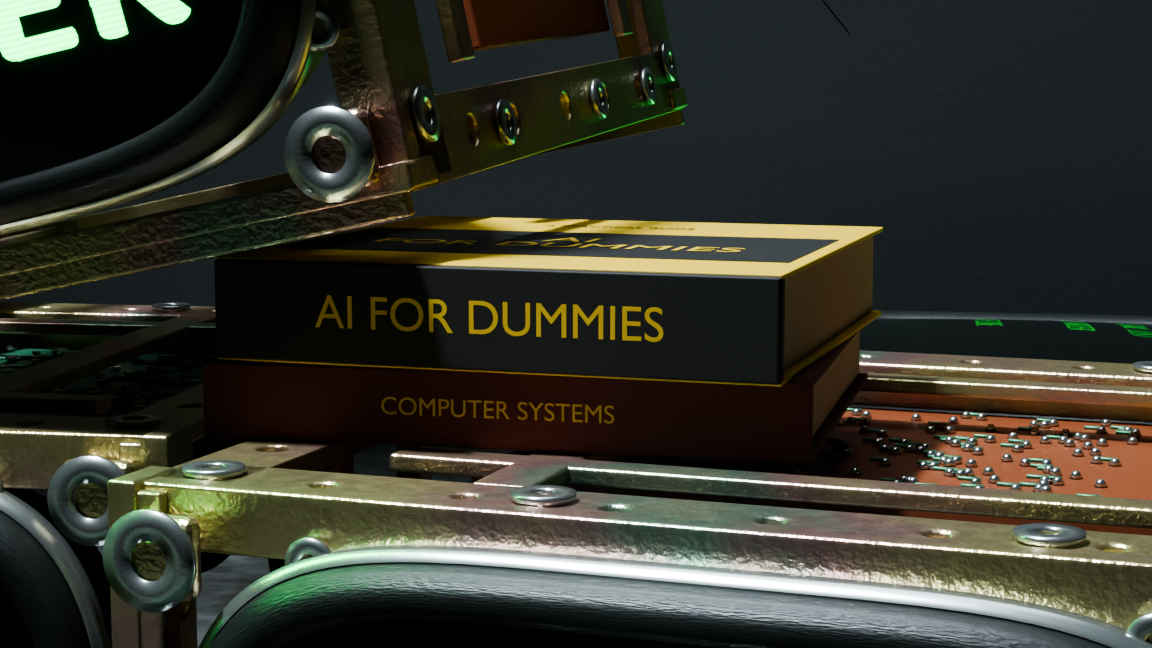
Eventually, I asked for a book under the raised side of the hero monitor, with “AI FOR DUMMIES” on its spine. One volume looked unusually thick, so we made it two slimmer, slightly offset books: the requested title above a worn “COMPUTER SYSTEMS” manual.
The floor needed attention too. We added dirt, discarded coffee cups, dented cans, scraps of paper, and small pieces of debris. Later, I noticed that some of those objects were floating. Their placement had been based on bounding boxes; grounding them using their actual mesh geometry removed the gaps.
This was becoming a recurring lesson. Adding more detail was easy. Making that detail behave convincingly required inspection.
The screens were another example. The early “SIGNAL LOST” displays looked like lettering placed in front of a monitor. They did not look as though the tube itself was producing the image.
We replaced the separate text objects with raster textures mapped onto the curved screen surfaces. The revised treatment used dark backgrounds, green emission, fine scanlines, and softened character edges. Another monitor received “SYSTEM OFFLINE.” The logo had its own power-on animation, and we corrected an early version that revealed it before the intended ignition.
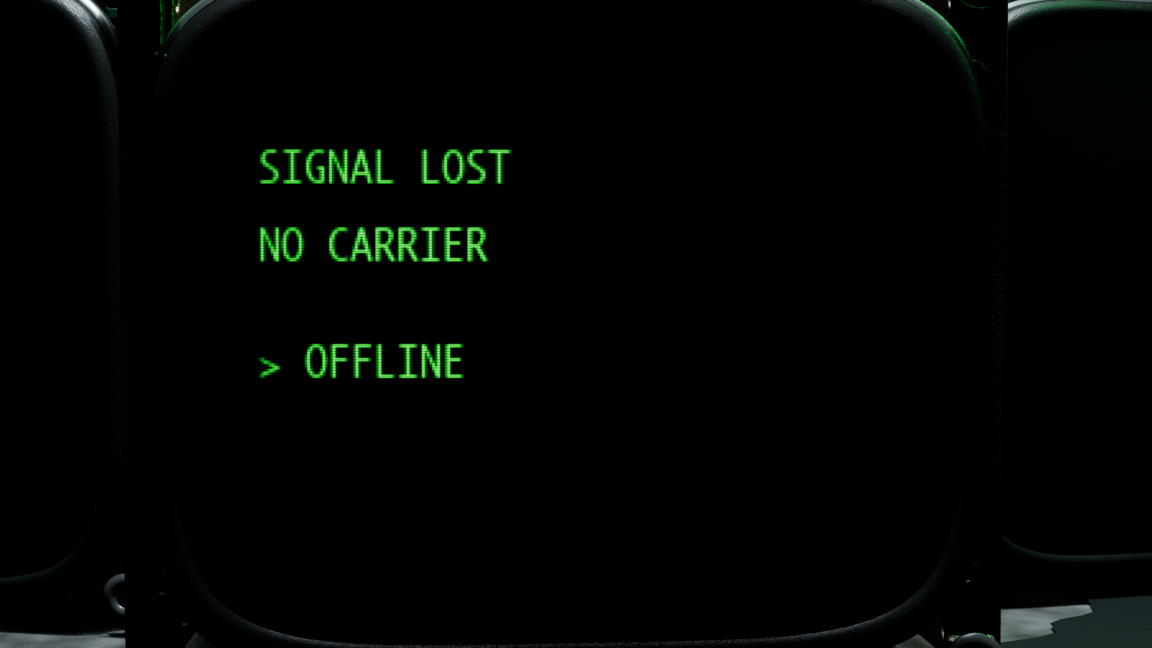
This was a visual approximation of a monochrome CRT, rather than a calibrated reproduction of a particular tube. For the intro, the important improvement was that the text belonged to the screen.
Water turned out to be one of the most persistent challenges.
The first dripping-water rings were static shapes. I wanted the disturbance to begin when a drop hit, spread outward, and fade. We replaced those rings with an animated water surface. The first impact occurred at frame 34, with subsequent impacts every 60 frames. The sound effects would later follow those same cues.
Then I noticed rounded green reflections in the puddles. They looked like lights, rather than reflections of the text and logo. That was exactly what they were: auxiliary area lights used to suggest the screens’ green spill were appearing in the water.
We excluded those helper lights from reflective paths and checked the actual screen geometry in the reflections. During troubleshooting, there was also a renderer mismatch: I had temporarily switched to Eevee to check the full animation. Its ray tracing was disabled. For final output, we returned to Cycles and verified reflected lettering in a close-up render.
The front puddle later nearly disappeared in Cycles because its shader differed from the back puddles. Matching its reflective material to theirs made the appearance consistent while preserving the moving ripples.
I also made a correction myself. Two puddles near the monitors overlapped, producing an odd dark area. Moving one away improved the result. Some fixes were easier to make directly in Blender than to describe in another prompt.
The camera went through several rounds of direction too.
I asked for a second camera that began three times farther away, moved in quickly, and slowed near the original starting point. The first version changed direction as it approached the CRTs. I asked for a straight trajectory, which meant letting go of the requirement to pass through that original intermediate position.
We preserved the stopping position and timing, but made the travel a single straight line. I then asked for the pile to be horizontally centered in the lower third of the opening frame. The camera’s start moved sideways and higher, creating a straight descending approach without a late pan.
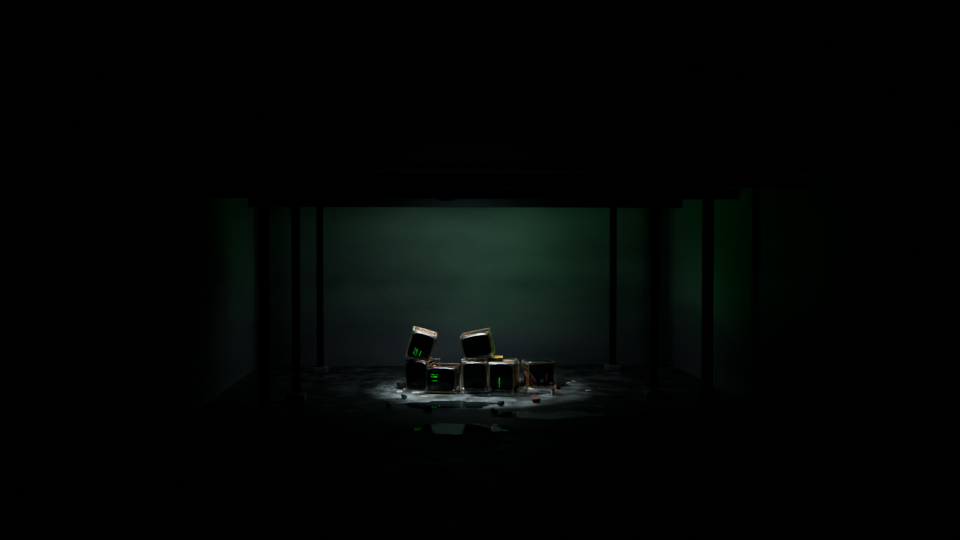
The final timing left room for the reveal. The camera stopped around five seconds. The logo powered on, the overhead light failed around seven seconds, and the screens-only image held until the fade began around nine seconds. The sequence ended at eleven seconds.
Sound came after the visual structure was established. I chose a cinematic treatment: warehouse atmosphere, an approach rumble, dripping water, CRT ignition and hum, and electrical crackles synchronized with the failing spotlight.
Those became five separately editable audio tracks in Blender’s Video Sequencer. They were generated through local sound synthesis and packed into the project. Audio Sync let me preview the animation with sound without committing to another full render. Cycles remained the final renderer, while faster viewport previews were useful for judging timing.
So how long did all of this take?
The first detailed CRT-building response ran for about 17 minutes on September 11. The circuit-board correction took roughly another two minutes once I raised it. Across the model and intro conversations, the recorded assistant turns add up to about 69 minutes, including tool work and preview checks. That is a measure of the recorded turns, not my total hands-on time.
The work was spread over several sessions. We built the asset and the first warehouse scene on September 11, continued with camera, material, timing, and sound revisions on September 13, and I was still making a puddle adjustment on September 14. My time reviewing results, experimenting, and deciding what to change sits outside a simple stopwatch total.
The final renderings took about eight hours on my MacBook Pro. That waiting time was separate from directing the scene. A fast first result did not make the final render instantaneous.
There were technical interruptions along the way. The Blender connection needed reconnecting. A background Blender process failed, and some scripting assumptions needed adapting to Blender 5’s compositor API. Later, still-image checks needed temporary output settings because the project was configured for video. Backups and small preview renders helped keep those problems manageable.
Underneath the conversation, most changes were made through Blender’s Python API, bpy, with the local MCP connection carrying scripts into the open session. That allowed many changes to happen in one operation. Local Python also handled tasks such as audio synthesis and display textures. I was directing an editable scene, with code doing much of the repetitive construction.
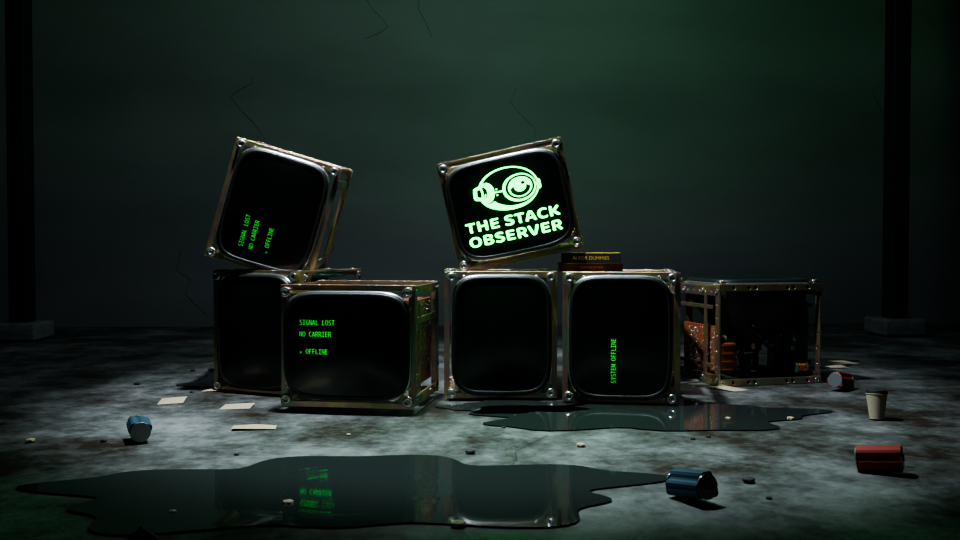
What I ended up with was an intro video and a reusable production asset: the CRT model, warehouse, cameras, lights, animation, materials, and sound tracks could all be changed independently. I could also create still shots from angles that were never part of the opening sequence.
The most useful prompts were often the simplest observations: that board is too short; those cans are floating; the light reflection looks wrong; the camera changes direction.
Codex handled a substantial amount of modeling and scripting. I supplied the visual intent, inspected the results, and kept asking whether the scene made sense. The finished intro came out of that repeated exchange, including a few decisions I could only make after seeing the previous version.
And, eventually, the puddles behaved well enough to let the logo have its moment.
Here is the finished product:

